Things to know before you start
To add an additional checkout or RESTOMAX solution to an existing organisation, you must have the licence code for a checkout that is already active in the establishment.
If the organisation has not yet been created, or if you have not created the first box, go to the tutorial : Wizard - Create the 1st till and organisation - Restomax
- Step 1 - Authentication
- Step 2 - Choose the type of checkout to add
- STANDALONE type - A master body without pocket
- SERVER type - A master till with pocket or slave
- CLIENT type - a pocket or slave box
- Stage 3 - Finalisation
Step 1: Authentication
The method is identical to that used to add the first till. You enter your email address to authenticate yourself.
If necessary, consult the documentation : Wizard - Create the 1st register and organisation
Step 2 - Choose the type of checkout to add
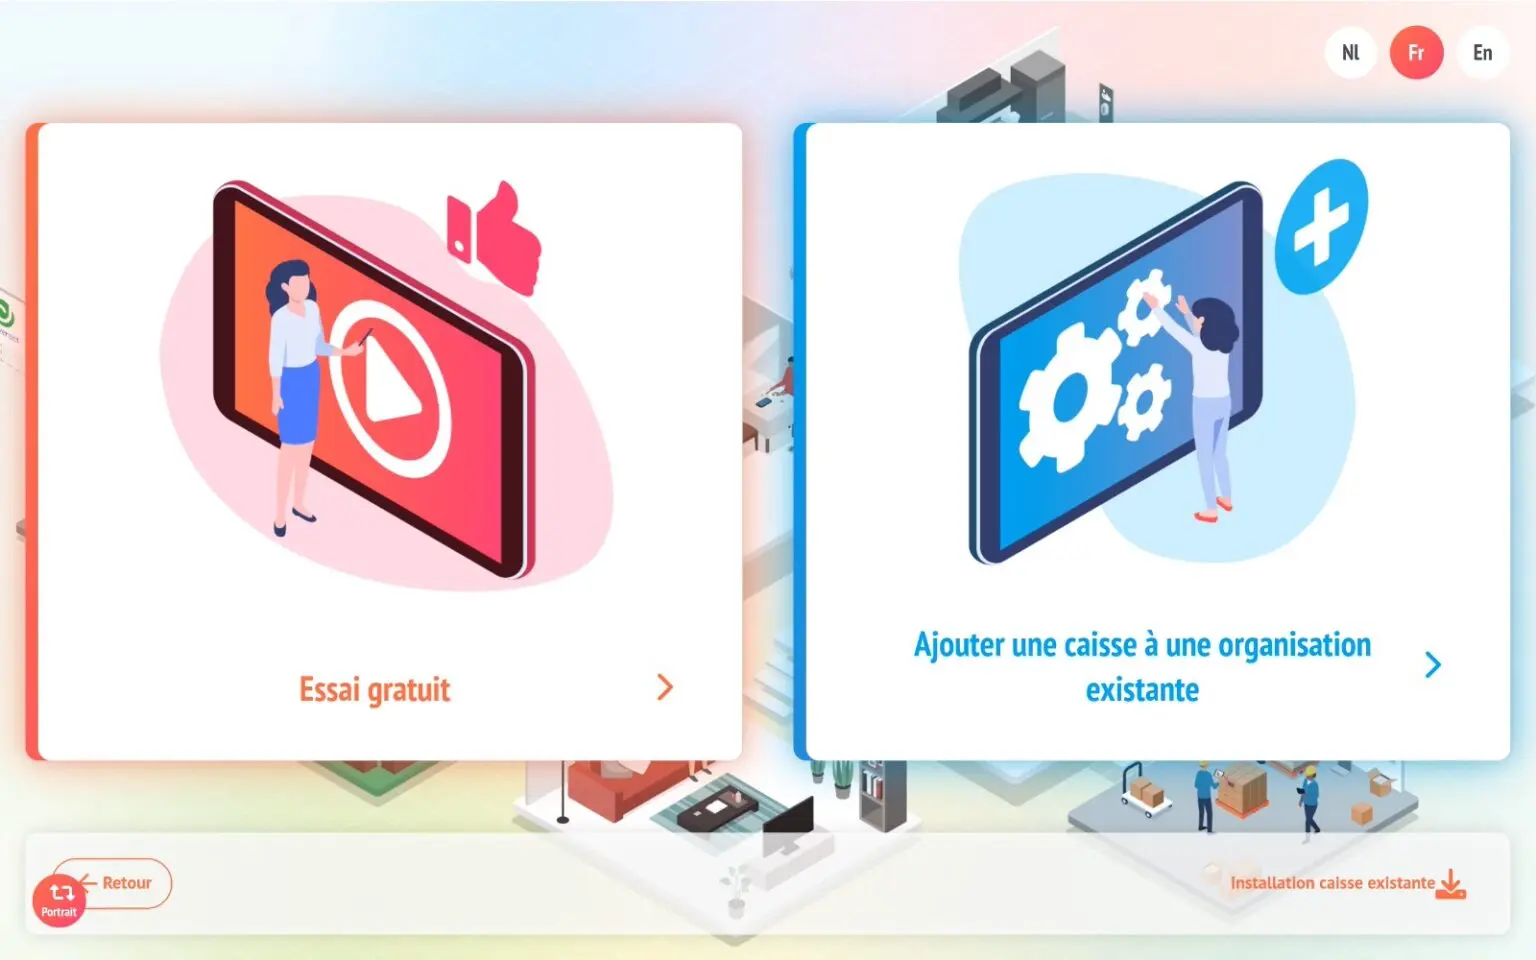
Once the code has been validated, select the option ‘add a till to an existing organisation’.
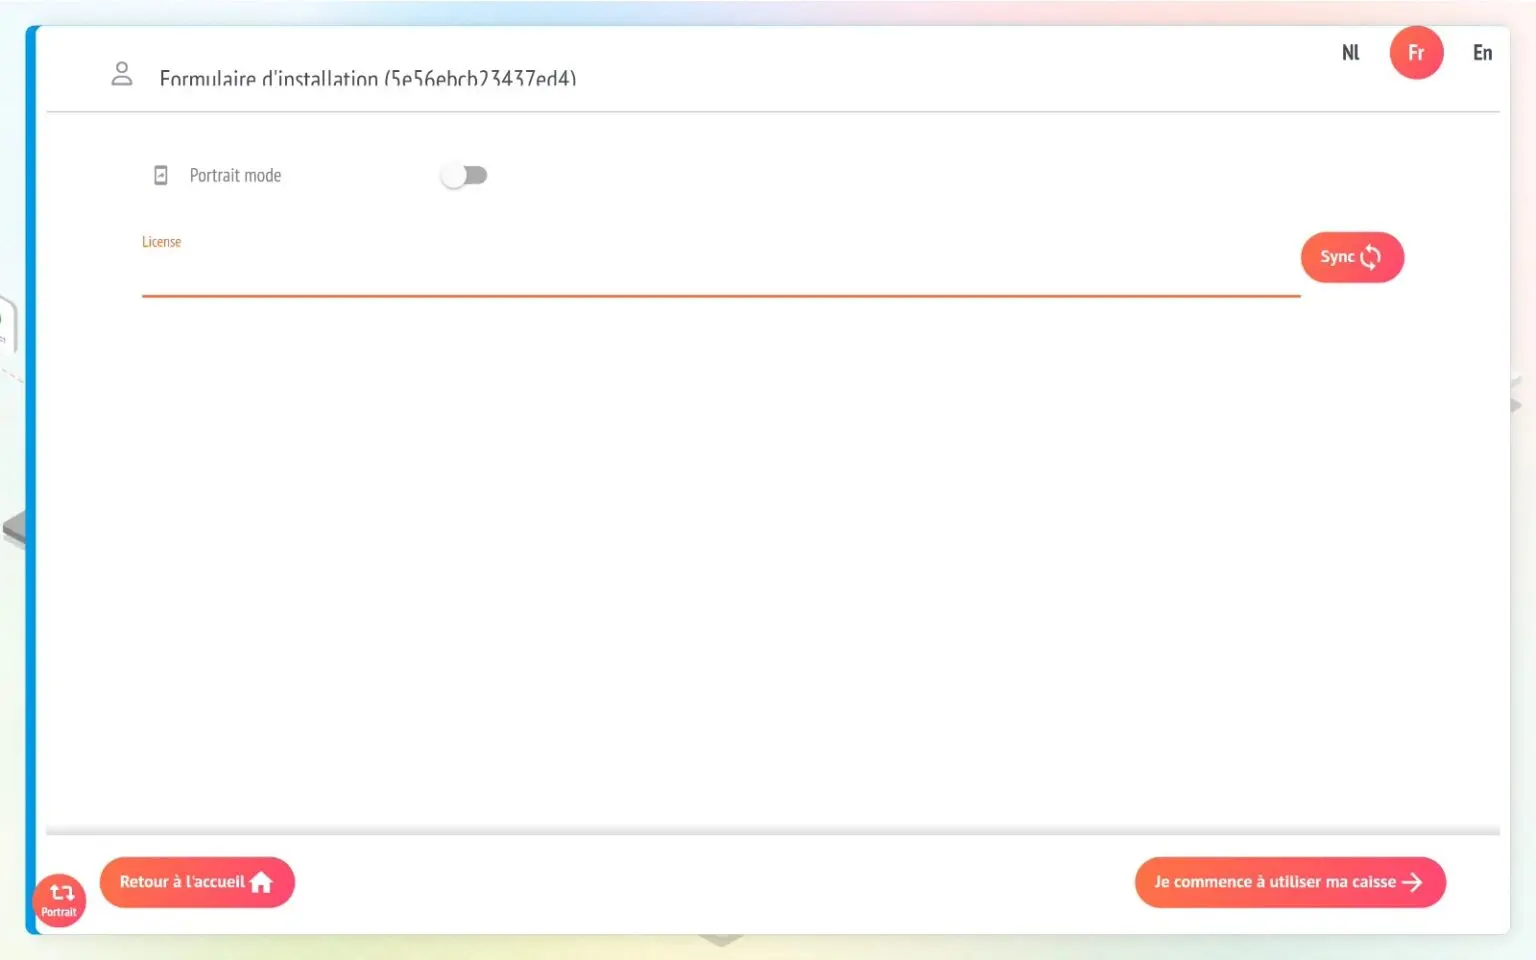
Don't forget to have a licence code that is already active within this organisation.
In the ‘License’ field, enter the license code of the box that is already active and press SYNC.
The system will then identify the organisation linked to this licence and suggest that you add different types of additional solution within the same organisation.
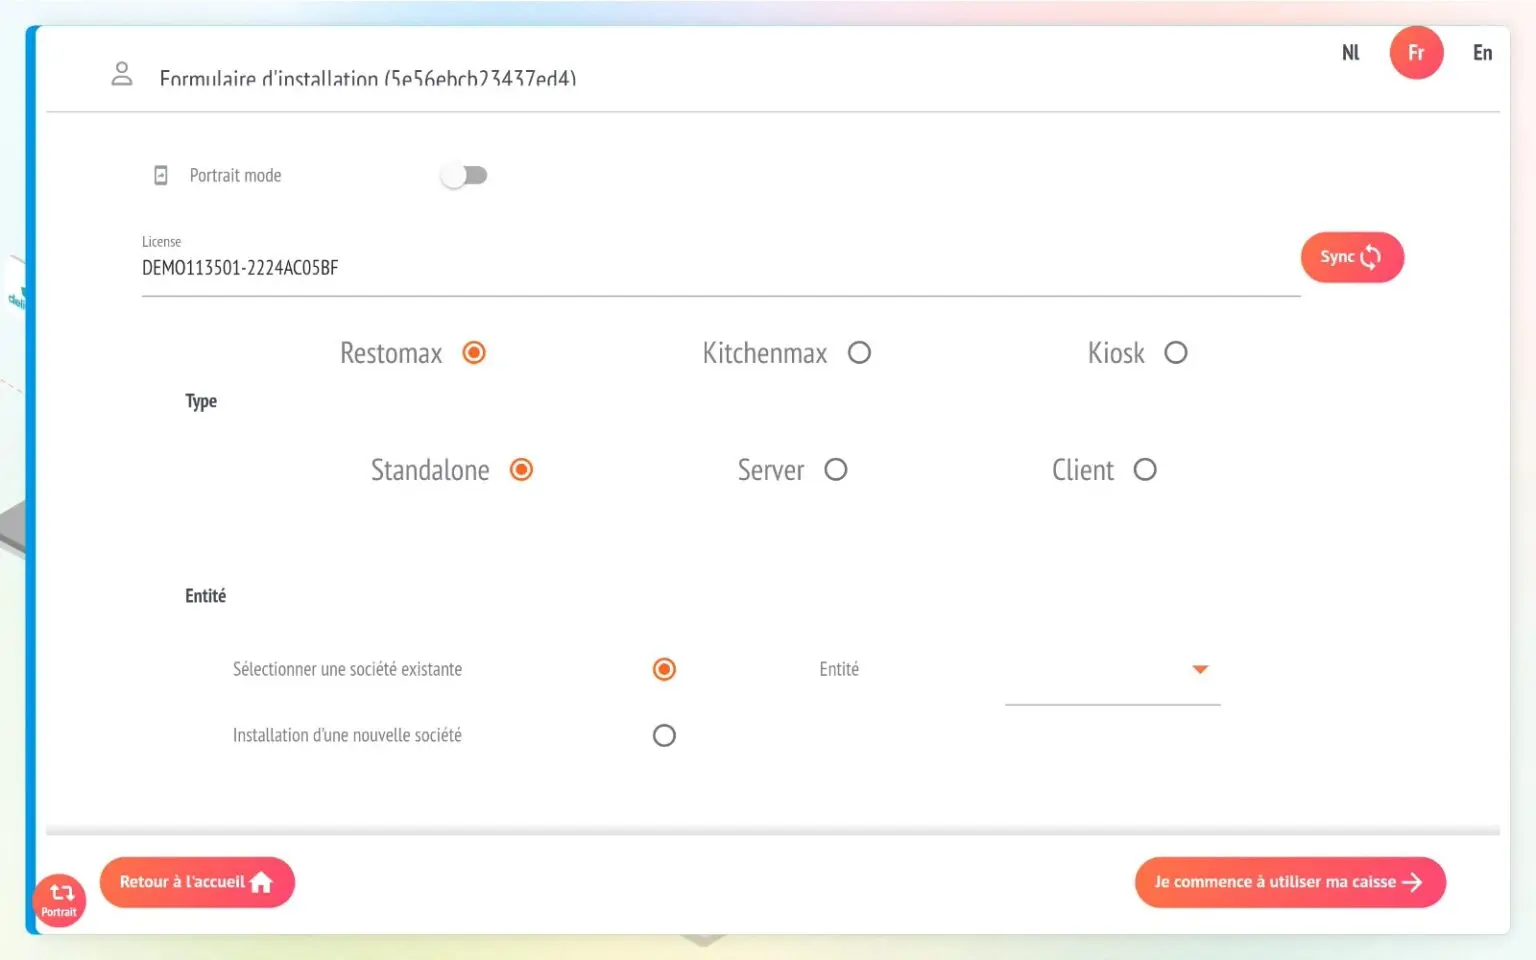
Then choose the type of checkout you want to add and how it works!
Restomax = enables a checkout to be deployed throughout the organisation
Standalone = le choix par défaut, c’est une caisse maître, sans pocket
Server = Caisse maître en mode server pour connecter des pocket / esclaves
Client = Pocket / Slave till
Type STANDALONE
This is the default choice, but we recommend that you use it if there are no slave or pocket boxes in your establishment.

SERVER type
Select if you wish to connect pockets/slaves to the cash desk.
You have a port number, 6000 by default. Different server ports are used in complex configurations with several master boxes and several pockets to avoid connection errors.

Note: a checkout deployed in STANDALONE can then be modified in SERVER, if for example you decide later to add pockets.
CUSTOMER type
Select if you want to deploy pockets or slave boxes.
You must specify the IP address of the SERVER mode till so that the slave can retrieve the windscreens and information from the server till.
⚠️Il is essential to set the IPs of your main tills👉 see our article on the network standard for this.
If you do not specify the IP, the slave till will automatically launch the scanning tool to find the different tills in server mode.

Finalisation
You then choose how you want to deploy the till in your organisation:
The entity = This is the level at which items and customers are recorded. The entity is generally linked to a VAT number and contains the different shops.
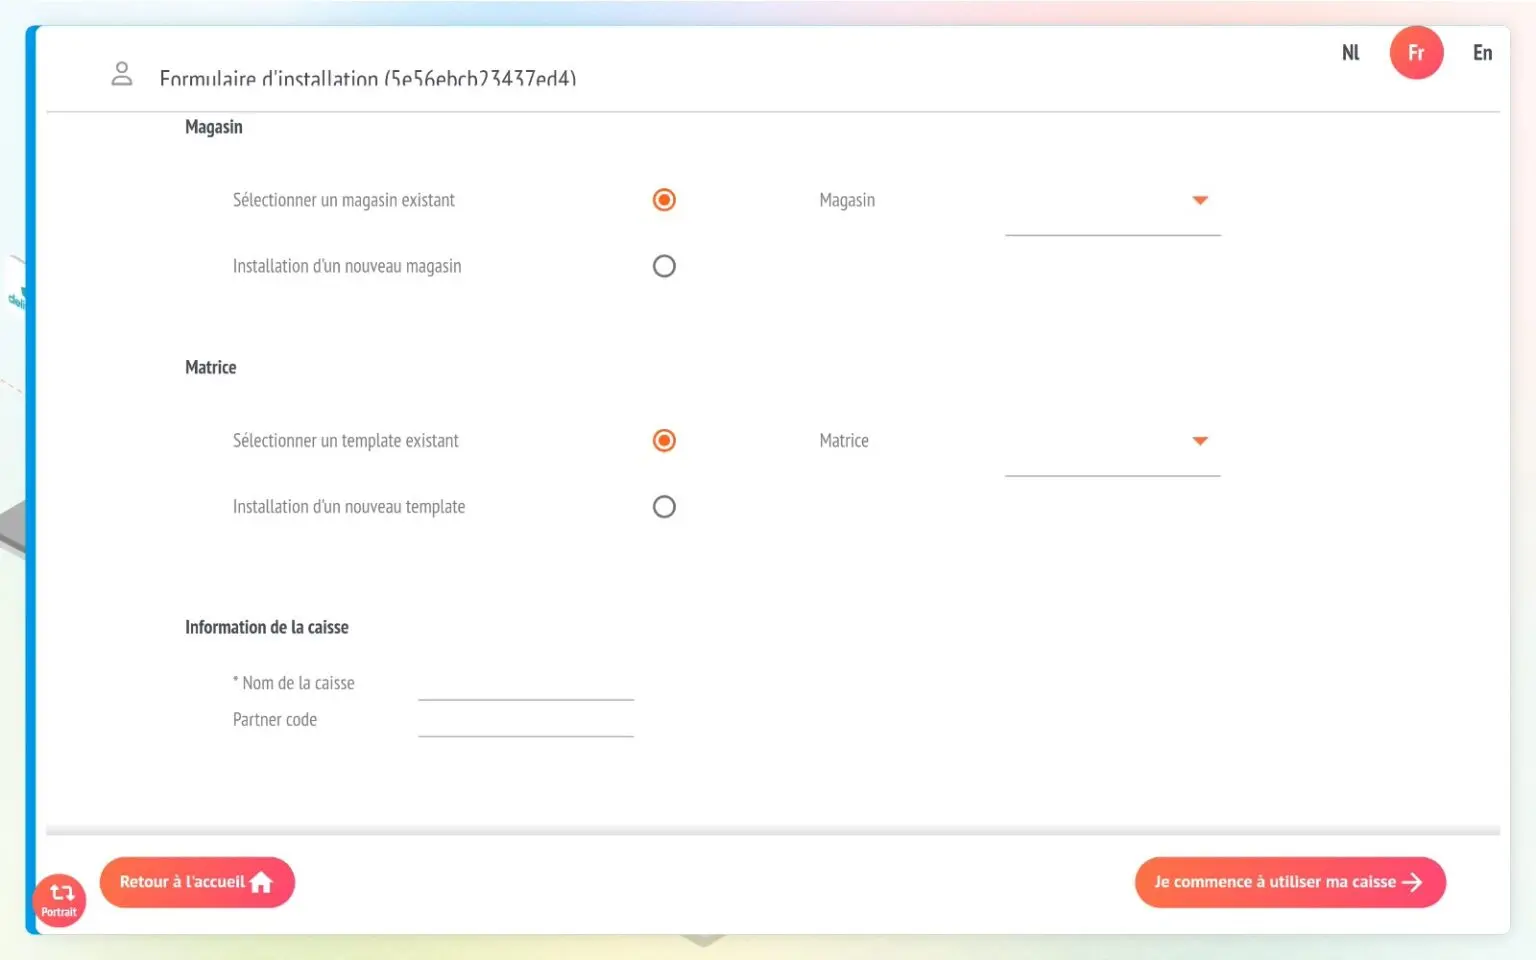
The shop = the establishment or restaurant where the checkout will be located. There may be several shops in a single entity.
The matrix = Linked to a template, it allows you to choose the configuration of the sales screens.
Caisse name = We recommend that you always give your caisse an explicit name. We recommend that you refer to our documentation. standard
Partner Code = Important for RESTOMAX partners, don't forget to enter your 6-digit identification number so that this licence can be associated with your partner account.
Finally, press the ‘I'm starting to use my till’ button. Your till will restart and synchronise with the database!
You will receive the code for the new licence generated in your mailbox.