Managing users and their permissions can quickly become tedious when you have regular staff changes or when recruiting students to your institution 🤯
To save time and manage your checkout users easily, use templates ✌️
What is a template?
Configure templates
How to apply the template
What is a template?
Templates allow you to define a role and apply predefined rights to users without having to manually change permissions one by one. There are over 50 rights available to manage your cash register, allowing you to grant more sensitive access, such as discounts and closing the cash register, making them an invaluable tool!
Example:
Do you have a student starting on Saturday? Select the student template for which you have defined the rights, associate it with the newly created user, and your student will immediately have the correct permissions!
In just a few seconds, your staff is ready to use the cash register.
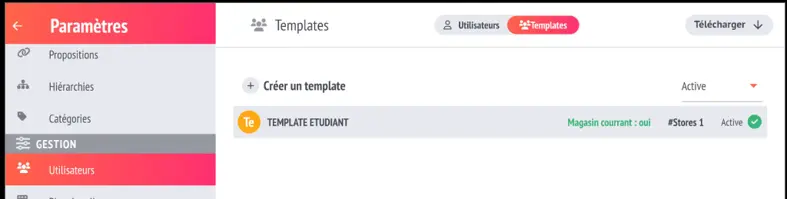
Configure templates
Go to Settings and Users. At the top of the screen, you will see a Users – Templates switch.
Tap templates to display the list. Three templates are generated by default: Manager, Staff, Student.
Manager: Has all permissions
Staff: They have access to the usual functions for serving customers, but cannot create or modify items, close the cash register or access settings and management.
Student: They only have access to basic sales functions and cannot create or modify items, customers, users, cancellations, discounts or management tools.
You also have the freedom to create new templates or adapt the three existing ones to suit your needs and the way your establishment operates.
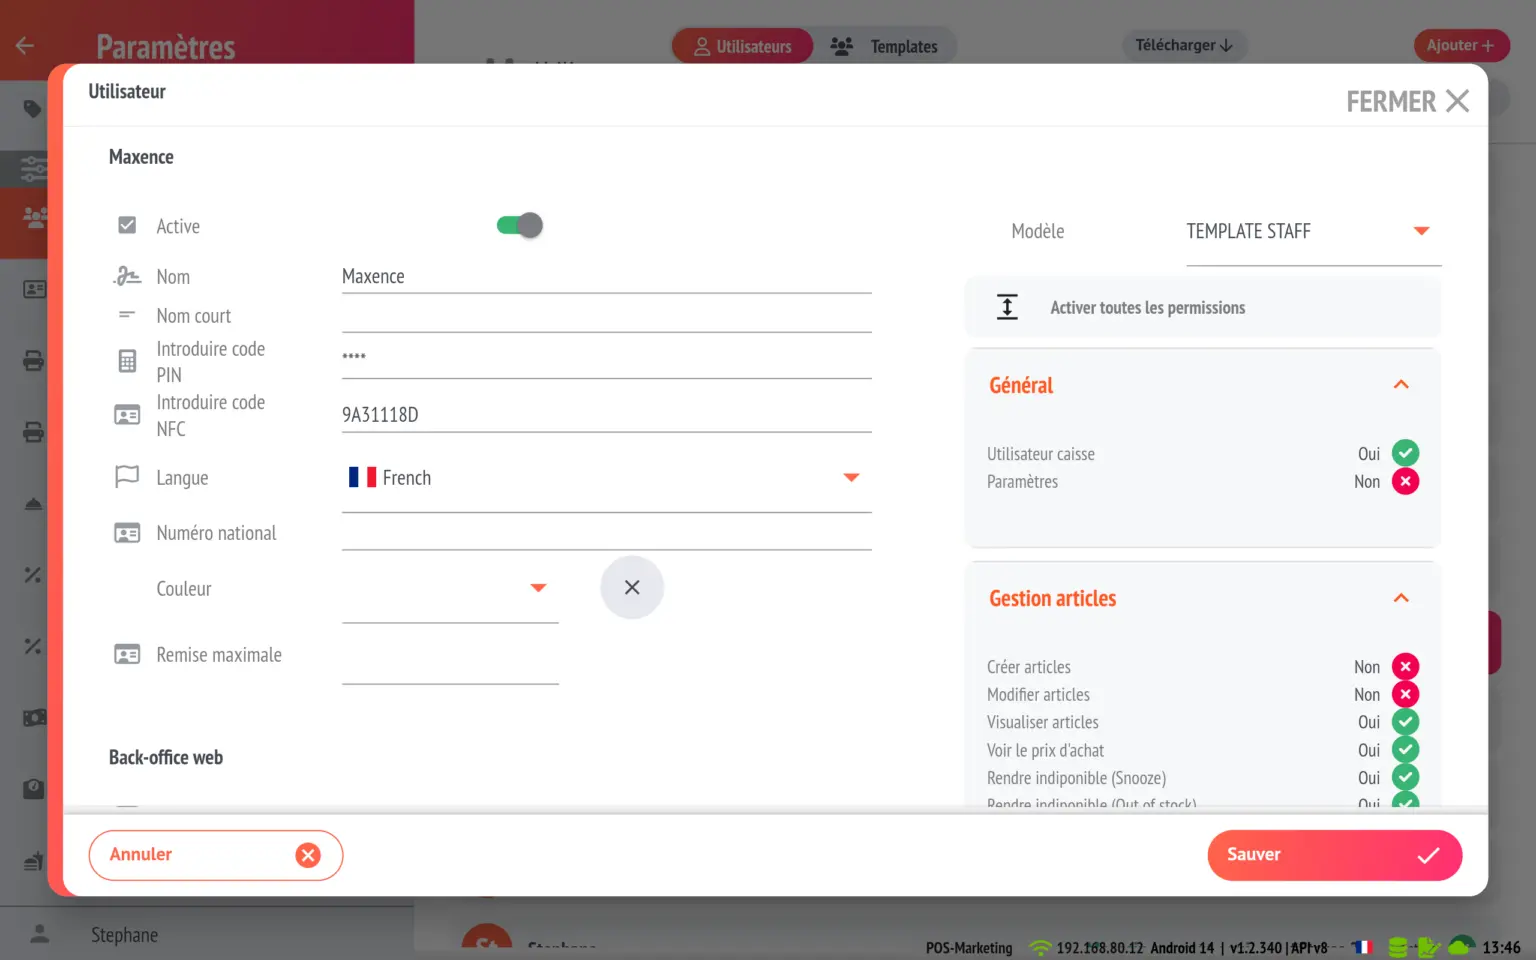
How to apply the template
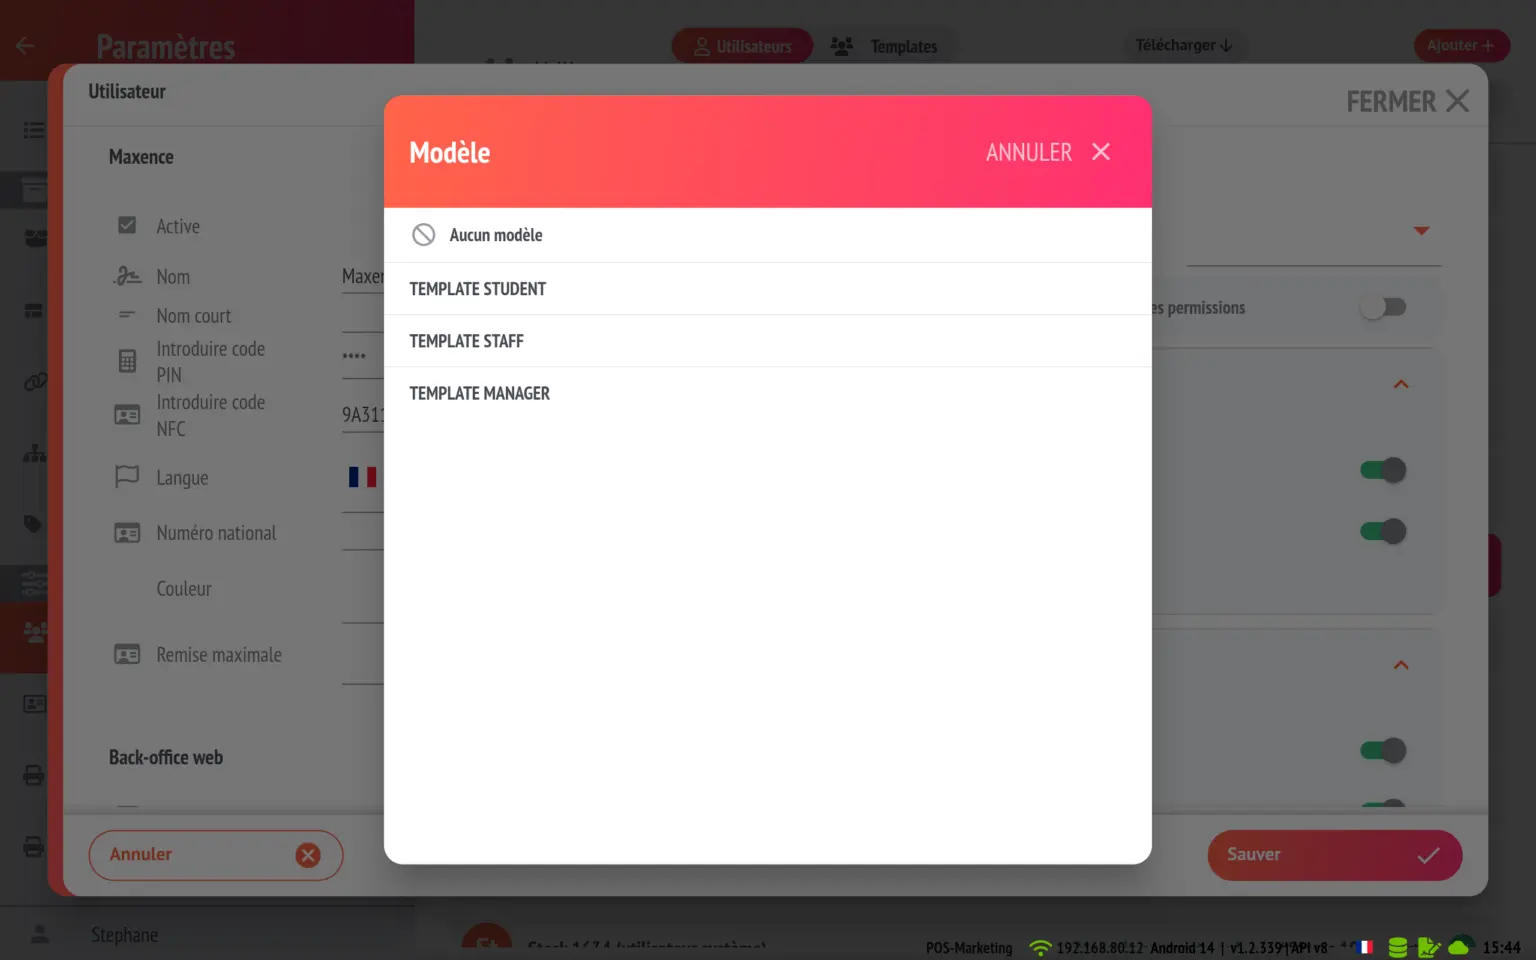
In Settings, select the user.
In the user file, above the permissions, select the template to apply.
Save the file, and the user now has the permissions corresponding to the selected template!