The floor plan is an essential tool for improving service efficiency within your establishment. In this video, we explain how to track your sales using the floor plan.
In the cash register, you have several settings available:
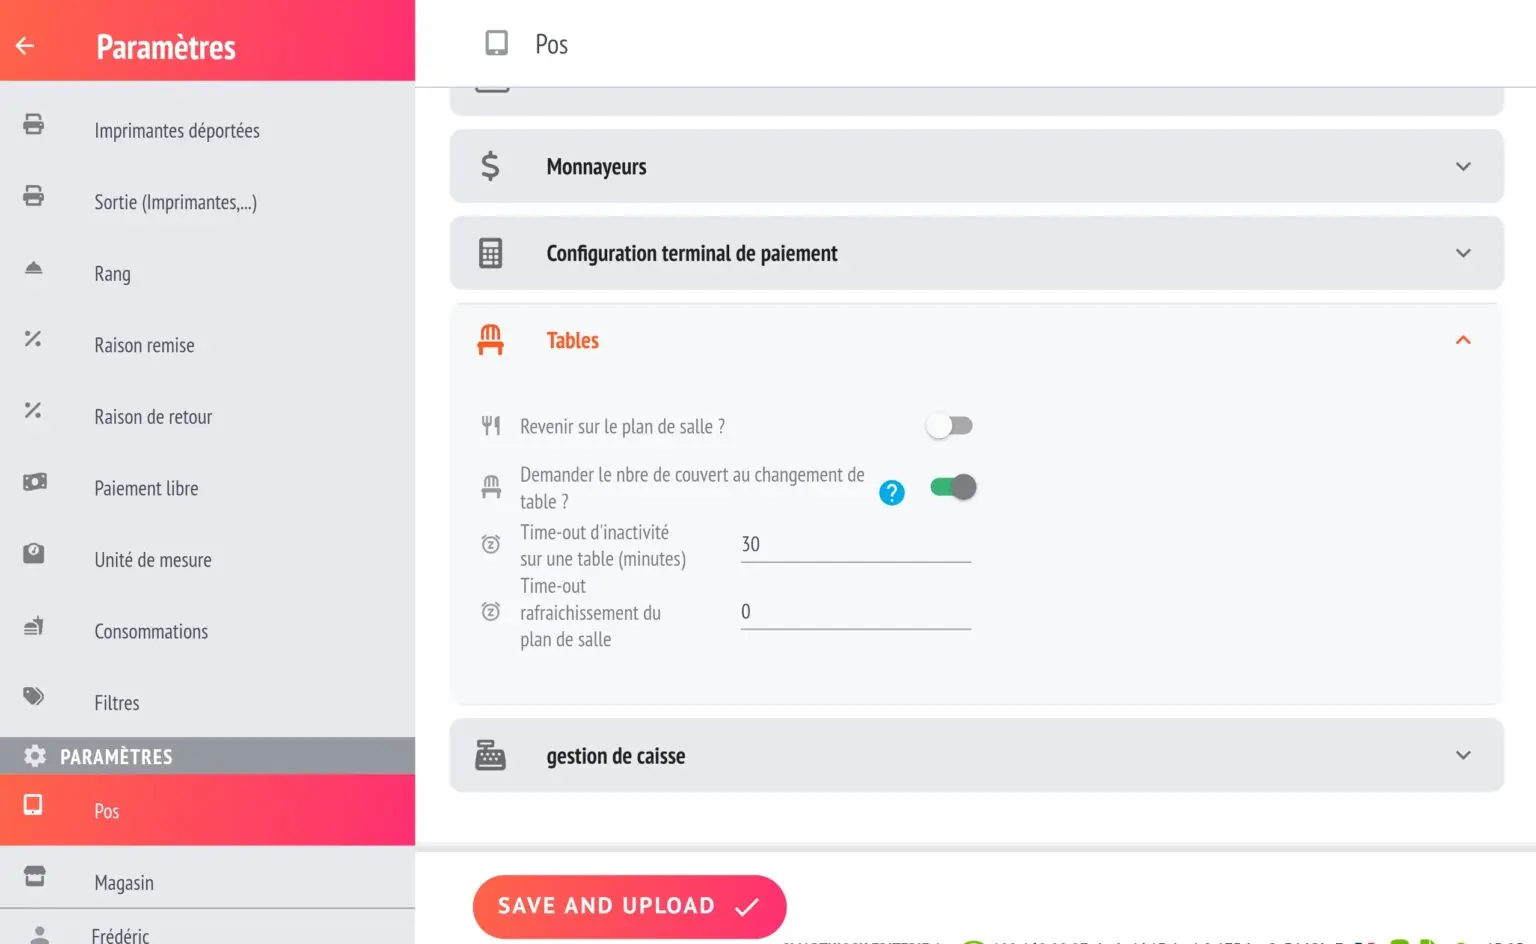
- ‘Return to the seating plan’ is important if you want your servers to always point to the correct table!
- The inactivity timeout is also a very useful tool. It defines how many minutes of inactivity will cause tables to be marked as dormant.
Generate sales with a floor plan
Prerequisites
Ensure that you have created and configured a room layout.
👉 Once you have done this, a button labelled ‘No tables’ will appear at the top of your work area.
How to use the seating plan
- Access the seating plan
- Click on ‘No tables’ to open your map.
- Read the colour codes
- 🟢 Green: table available
- 🔴 Red: table occupied
- 😴 Sleep: table occupied, but inactive for a while
- Point to a table
- Click on a table (e.g. 16)
- The ‘No table’ button becomes table 16 in purple.
- All articles pointed to will be linked to this table.
- Put the ticket on hold
- Click on Resend.
- The table turns red on the map (occupied)
- Resume a ticket
- Click on the table again → the ticket opens immediately
Option: automatic return to the floor plan
To streamline service, you can automatically return to the seating plan after each sale or user change:
- Go to Settings → POS → Tab
- Enable the option ‘Return to floor plan’.
- Save
✅ Result: after each action, your screen returns to the plan, ready for the next table.